Best Apple Juice Recipe: Fresh & Easy at Home
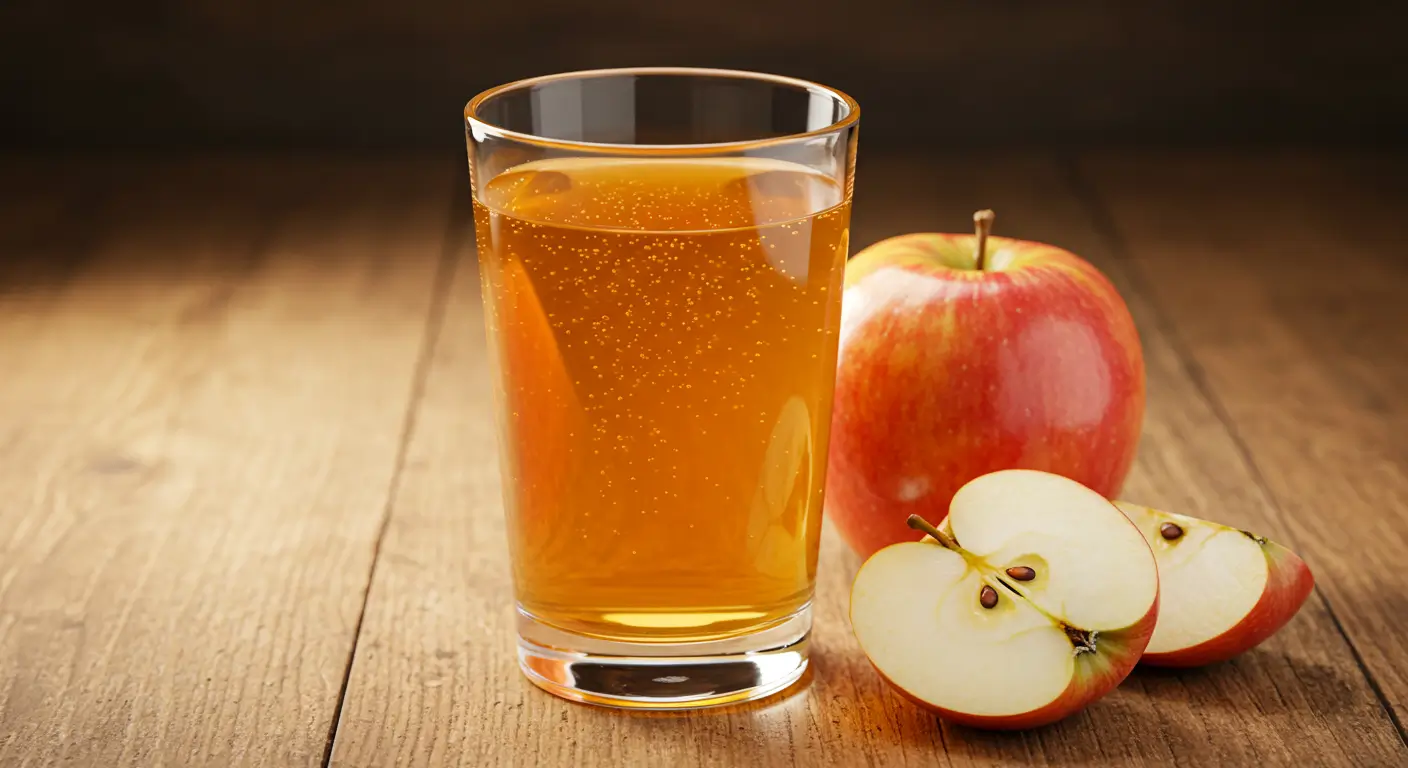
Ever wondered why homemade apple juice tastes dramatically different from store-bought versions? The secret lies in the freshness of ingredients and absence of preservatives that transform this simple beverage into a nutrient-packed elixir. Making your own apple juice at home allows you to control every aspect of this refreshing drink, from the sweetness level to the variety of apples used. This apple juice recipe brings the orchard directly to your glass with minimal effort and maximum flavor.
Table of Contents
Ingredients List
For this apple juice recipe, you’ll need:
- 8-10 medium apples (preferably a mix of sweet and tart varieties like Gala, Fuji, Honeycrisp, or Granny Smith)
- 1-2 tablespoons fresh lemon juice
- 1-2 tablespoons honey or maple syrup (optional for added sweetness)
- 1 cinnamon stick or ¼ teaspoon ground cinnamon (optional)
- 1 inch piece of fresh ginger (optional)
- Filtered water (if needed for desired consistency)
- Ice cubes (for serving)
Timing
This apple juice recipe requires:
- Preparation time: 15 minutes
- Processing time: 10 minutes
- Total time: 25 minutes
- Yield: Approximately 4 cups of fresh apple juice
Step-by-Step Instructions
Step 1: Select and Prepare the Apples
Choose fresh, crisp apples without bruises or soft spots. The flavor of your juice depends significantly on the apples you select, so mix sweet and tart varieties for a balanced profile. Wash the apples thoroughly under cold running water to remove any pesticide residue or dirt. There’s no need to peel the apples unless you prefer a clearer juice—many beneficial nutrients reside in or just beneath the skin.
Step 2: Core and Cut the Apples
Remove the cores and cut the apples into quarters or smaller chunks. Removing the seeds is important as they contain small amounts of compounds that can impart bitterness. Smaller pieces will blend more easily and extract more juice. If you’re using a juicer, you may need to cut them to fit your specific model’s feed tube.
Step 3: Process the Apples
Depending on your equipment, you have several options:
If using a juicer: Feed the apple pieces through your juicer according to the manufacturer’s instructions. Collect the juice in a clean container.
If using a blender: Place the apple pieces in your blender with about ¼ cup of water to get things moving. Blend until smooth, then strain through a fine-mesh sieve or cheesecloth, pressing down to extract as much juice as possible.
If using a food processor: Pulse the apples until finely chopped, then press through a fine-mesh strainer or squeeze through cheesecloth.
Step 4: Add Optional Flavor Enhancers
This is where you can customize your apple juice to match your preferences. Add the lemon juice (helps prevent oxidation and brightens the flavor), sweetener if desired, and any spices like cinnamon or ginger. Stir well to combine all flavors. The lemon juice not only enhances taste but also helps preserve the color of your fresh apple juice.
Step 5: Strain Again if Needed
For ultra-smooth apple juice, you might want to strain it one more time through a fine-mesh sieve or cheesecloth. This step is optional but recommended if you prefer clear rather than pulpy juice. The additional straining removes any remaining solids and results in a more refined texture.
Step 6: Chill and Serve
Transfer your freshly made apple juice to a glass pitcher or bottles. Refrigerate for at least 30 minutes before serving for the best flavor experience. Serve over ice for a refreshing drink, or at room temperature to appreciate the full apple flavor profile. Your homemade apple juice is now ready to enjoy!
Nutritional Information
For a serving of this apple juice (1 cup):
- Calories: Approximately 110-130 calories
- Carbohydrates: 28-30g
- Sugars: 24-26g (naturally occurring from apples)
- Fiber: 0.5g (if not completely strained)
- Protein: 0.5g
- Fat: 0.3g
- Vitamin C: 5% of Daily Value
- Potassium: 7% of Daily Value
- Iron: 2% of Daily Value
Healthier Alternatives for the Recipe
Transform your apple juice into a healthier version with these modifications:
- Lower Sugar Option: Mix in 25% water to dilute the natural sugars while maintaining flavor
- Fiber-Rich Version: Skip the final straining step to retain some of the beneficial fiber from the apples
- Green Power Boost: Add a handful of spinach or kale to your blender when processing the apples—the sweet apple flavor will mask the greens while adding nutrients
- Digestive Support: Include a teaspoon of apple cider vinegar to aid digestion and add probiotic benefits
- Antioxidant Enhancement: Add a few berries like blueberries or strawberries to increase the antioxidant content
- Vitamin C Boost: Mix in the juice of one orange to significantly increase vitamin C content
Serving Suggestions
Elevate your apple juice experience with these ideas:
- Serve in chilled glasses with a thin apple slice as garnish for an elegant presentation
- Create refreshing popsicles by freezing the juice in molds—perfect for summer days
- Use as a base for smoothies by blending with yogurt and other fruits
- Mix with sparkling water at a 1:1 ratio for a bubbly apple spritzer
- Warm the juice with cinnamon sticks and cloves for a comforting hot drink in colder months
- Pour into ice cube trays and freeze to add apple flavor to other beverages without diluting them
- Use as a natural sweetener in salad dressings or marinades for a subtle fruit flavor
Common Mistakes to Avoid
Master this apple juice recipe by avoiding these pitfalls:
- Over-straining – While clear juice looks appealing, excessive straining removes beneficial compounds; find the right balance for your preference
- Using only one apple variety – Relying on just one type of apple creates one-dimensional flavor; always mix varieties for complexity
- Skipping the lemon juice – Omitting this ingredient leads to faster browning and oxidation of your fresh juice
- Processing too far in advance – Fresh apple juice loses nutrients quickly; aim to consume within 24-48 hours
- Adding too much sweetener – Apples contain natural sugars; taste before adding sweeteners to avoid overwhelming the natural flavors
- Ignoring apple quality – Using overripe or underripe apples significantly impacts flavor; select firm, fragrant fruits at peak ripeness
Storing Tips for the Recipe
Preserve the freshness of your apple juice with these strategies:
- Refrigeration – Store in airtight glass containers rather than plastic to prevent flavor absorption
- Quick Cooling – Refrigerate immediately after preparation to minimize nutrient loss and extend freshness
- Portion Control – Divide into smaller containers so you only open what you’ll consume immediately
- Freezing Option – Pour into freezer-safe containers leaving 1-inch headspace; freeze for up to 3 months
- Natural Preservation – Add an extra squeeze of lemon juice if storing for more than a day to help maintain color and freshness
- Light Protection – Store in dark or amber-colored glass bottles to protect from light exposure which can degrade nutrients
Conclusion
This homemade apple juice recipe transforms ordinary apples into a delicious, nutrient-rich beverage that surpasses commercial options in flavor and health benefits. With customizable sweetness and optional flavor enhancers, it adapts perfectly to your taste preferences while delivering the pure essence of fresh apples. Try this recipe today and discover the remarkable difference fresh makes! We’d love to hear your feedback in the comments section below.
FAQs
How long does homemade apple juice last in the refrigerator? Freshly made apple juice is best consumed within 2-3 days when stored in an airtight container in the refrigerator. Unlike commercial juices, homemade versions don’t contain preservatives, which affects shelf life but preserves nutritional integrity.
Can I make apple juice without a juicer? Absolutely! You can use a blender to purée the apples and then strain the mixture through a fine-mesh sieve or cheesecloth. While this method requires more manual effort, it produces excellent results and allows you to control the amount of pulp in your final juice.
Which apple varieties make the best juice? A combination of sweet and tart apples creates the most balanced flavor. Sweet varieties like Fuji, Gala, and Red Delicious provide natural sweetness, while tart varieties like Granny Smith or Pink Lady add complexity and brightness. Experiment with different combinations to find your perfect blend.
Do I need to peel the apples before juicing? No, you don’t need to peel apples before juicing unless you prefer a clearer juice. Many nutrients are found in or just beneath the skin, so keeping the peel on maximizes nutritional value. Just be sure to wash the apples thoroughly to remove any pesticide residue or wax coating.
Is homemade apple juice healthier than store-bought? Homemade apple juice typically contains more nutrients and less added sugar than commercial varieties. It’s free from preservatives, artificial flavors, and concentrates. Additionally, when consumed immediately after preparation, it retains maximum vitamin and antioxidant content that degrades during commercial processing and prolonged storage.
Is cloudiness in my apple juice normal? Cloudiness is completely normal in fresh, homemade apple juice and indicates the presence of beneficial pectin and other natural compounds. Commercial juices are often filtered and processed to achieve clarity, but this removes some of the nutritional benefits.
Your Feedback Matters
There are no reviews yet. Be the first one to write one.

