
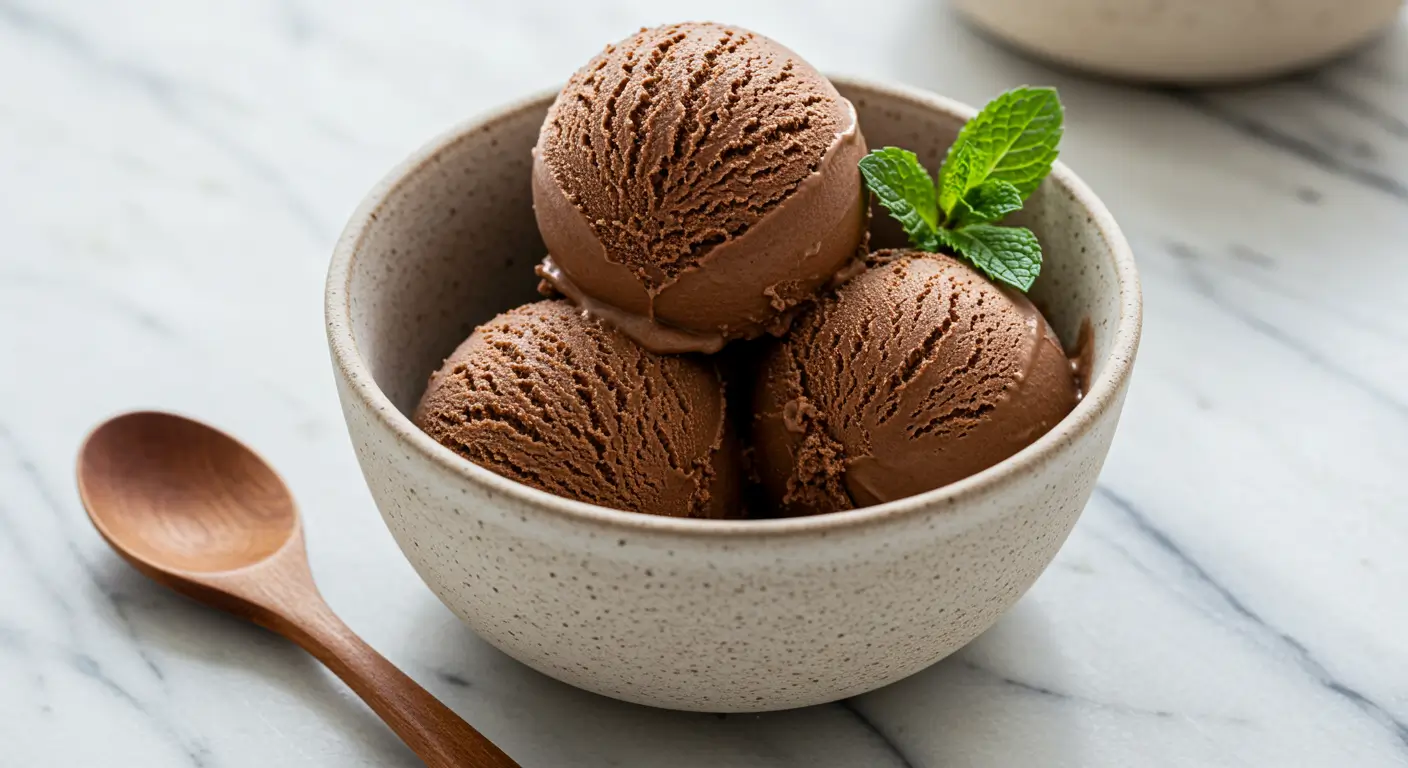
Chocolate Ice Cream: The Best Homemade Recipe
Can creating the perfect chocolate ice cream at home actually surpass premium store-bought varieties in both taste and texture? While many believe that artisanal frozen desserts require specialized equipment and years of culinary training, the truth is that achieving restaurant-quality chocolate ice cream in your own kitchen is entirely possible with the right technique and ingredients. This homemade chocolate ice cream recipe delivers an incredibly rich, velvety texture that rivals any gourmet ice cream parlor, using simple ingredients you likely already have in your pantry. The secret lies in understanding the science behind perfect crystallization and incorporating premium cocoa for that deep, satisfying chocolate flavor that melts beautifully on your tongue.
Table of Contents
Ingredients List
For this chocolate ice cream you’ll need a carefully selected combination of high-quality ingredients that work together to create the ultimate frozen dessert experience:
- 2 cups heavy cream
- 1 cup whole milk
- 3/4 cup granulated sugar
- 1/2 cup unsweetened cocoa powder
- 4 large egg yolks
- 4 oz dark chocolate, finely chopped
- 2 teaspoons pure vanilla extract
- 1/4 teaspoon salt
Timing
This chocolate ice cream requires strategic time management for optimal results:
- Preparation & Cooking time: 40 minutes
- Cooling time: 2 hours minimum
- Churning time: 20-25 minutes
- Freezing time: 4-6 hours
- Total time: 7-8 hours from start to finish
Step-by-Step Instructions
Step 1: Prepare Your Chocolate Base
Begin by finely chopping your dark chocolate into small, uniform pieces to ensure even melting. Place the chopped chocolate in a large mixing bowl and set aside. In a heavy-bottomed saucepan, whisk together the cocoa powder and sugar until no lumps remain, creating a smooth dry mixture that will prevent any grittiness in your final product.
Step 2: Heat the Dairy Mixture
Gradually add the milk to your cocoa-sugar mixture, whisking continuously to create a smooth paste before adding the heavy cream. Place the saucepan over medium heat and stir frequently until the mixture begins to steam and small bubbles form around the edges. This gentle heating process ensures the cocoa powder fully dissolves while preventing the dairy from scorching.
Step 3: Temper the Egg Yolks
In a separate bowl, whisk the egg yolks until they’re pale and slightly thickened. Slowly drizzle about half a cup of the hot chocolate mixture into the egg yolks while whisking vigorously. This tempering technique prevents the eggs from scrambling and creates the silky custard base that gives homemade ice cream its luxurious texture.
Step 4: Create the Custard Base
Return the tempered egg mixture to the saucepan and cook over low heat, stirring constantly with a wooden spoon or heat-resistant spatula. Continue cooking until the mixture coats the back of your spoon and reaches 170°F on an instant-read thermometer. The custard should be thick enough that you can draw a line through it with your finger.
Step 5: Finish and Cool
Remove the custard from heat and immediately pour it over the chopped chocolate, letting it sit for two minutes before whisking until completely smooth. Stir in the vanilla extract and salt, then strain the mixture through a fine-mesh sieve to remove any lumps. Cover with plastic wrap pressed directly against the surface to prevent skin formation and refrigerate for at least two hours.
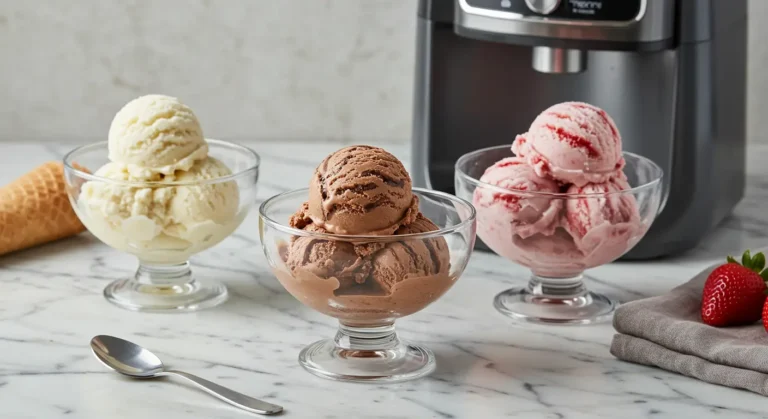
Step 6: Churn to Perfection
Pour the chilled custard into your ice cream maker and churn according to manufacturer instructions, typically 20-25 minutes until it reaches a soft-serve consistency. Transfer the chocolate ice cream to an airtight container and freeze for at least four hours until firm enough to scoop.
Nutritional Information
For a serving of this chocolate ice cream (approximately 1/2 cup serving, recipe yields 8 servings):
- Calories: 285
- Total Fat: 19g
- Saturated Fat: 12g
- Cholesterol: 98mg
- Sodium: 85mg
- Total Carbohydrates: 26g
- Dietary Fiber: 3g
- Sugars: 22g
- Protein: 5g
- Calcium: 12% Daily Value
- Iron: 8% Daily Value
- Vitamin A: 15% Daily Value
Healthier Alternatives for the Recipe
Transform your chocolate ice cream into a healthier version with these modifications:
- Greek Yogurt Base: Replace half the heavy cream with thick Greek yogurt for added protein and probiotics
- Coconut Milk Substitute: Use full-fat coconut milk instead of dairy for a naturally dairy-free option with medium-chain fatty acids
- Natural Sweeteners: Substitute refined sugar with pure maple syrup, date paste, or stevia for lower glycemic impact
- Avocado Addition: Blend in half a ripe avocado for extra creaminess and healthy monounsaturated fats
- Protein Powder Boost: Add chocolate protein powder to increase protein content while maintaining flavor
- Banana Base: Use frozen bananas as a natural sweetener and creamy base, reducing overall sugar content
- Cashew Cream: Soak and blend cashews for a rich, dairy-free alternative with beneficial minerals
Serving Suggestions
Elevate your chocolate ice cream experience with these ideas:
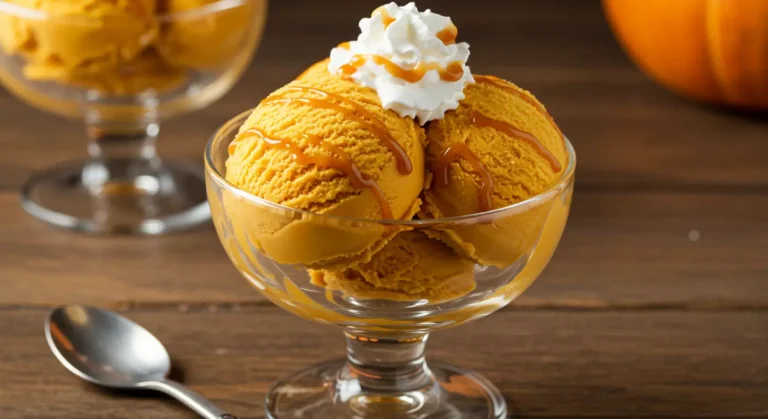
- Classic Sundae: Top with hot fudge sauce, whipped cream, and a maraschino cherry for nostalgic appeal
- Sophisticated Pairing: Serve alongside warm brownies or chocolate lava cake for temperature contrast
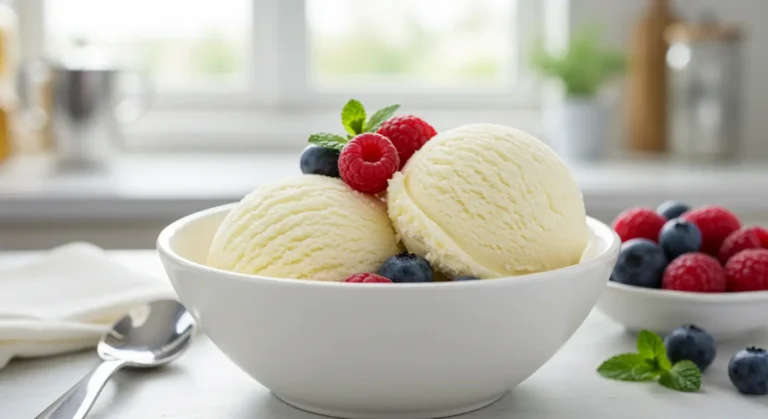
- Fresh Fruit Combination: Pair with sliced strawberries, raspberries, or banana for natural sweetness and color
- Textural Elements: Add crushed cookies, toasted nuts, or caramel swirls for interesting texture variations
- Beverage Pairings: Serve with espresso, red wine, or craft beer for adult entertaining options
- International Flair: Garnish with candied ginger, sea salt flakes, or chili powder for unique flavor profiles
- Elegant Presentation: Serve in chilled bowls with fresh mint leaves and a drizzle of premium olive oil
Common Mistakes to Avoid
Master this chocolate ice cream by avoiding these pitfalls:
- Overheating the Custard: Cooking beyond 170°F will curdle the eggs and create an unpleasant texture that cannot be fixed
- Insufficient Cooling: Churning warm custard results in poor texture and may damage your ice cream maker’s motor
- Poor Quality Chocolate: Using low-grade chocolate or cocoa powder significantly impacts the final flavor profile
- Inadequate Straining: Skipping the straining step can leave lumps and create an unpleasant mouthfeel
- Improper Storage: Storing without airtight containers leads to ice crystal formation and freezer burn flavors
- Rushing the Process: Each step requires patience; hurrying through cooling or churning compromises texture
- Incorrect Churning Time: Under-churning results in icy texture while over-churning can make the ice cream grainy
Storing Tips for the Recipe
Preserve the freshness of your chocolate ice cream with these strategies:
- Airtight Storage: Use freezer-safe containers with tight-fitting lids to prevent ice crystal formation and odor absorption
- Surface Protection: Press plastic wrap directly onto the ice cream surface before sealing to minimize air exposure
- Optimal Temperature: Store at 0°F to -5°F for best texture; avoid temperature fluctuations from frequent freezer opening
- Portion Control: Divide into smaller containers for easier serving and to maintain quality of remaining portions
- Freezer Placement: Store in the back of the freezer where temperature remains most consistent
- Container Material: Glass or BPA-free plastic containers work best; avoid metal containers that can affect flavor
- Maximum Storage: Consume within 2-3 months for optimal flavor and texture, though it remains safe longer
Conclusion
This homemade chocolate ice cream recipe transforms simple ingredients into a luxurious frozen dessert that rivals any premium brand. The key lies in patient custard preparation, quality ingredients, and proper technique. The rich, velvety texture and deep chocolate flavor create an indulgent experience that’s surprisingly achievable in your own kitchen.
Ready to create this decadent treat? Try this recipe and share your results in the comments below. We’d love to hear about your chocolate ice cream adventures and any creative variations you discover along the way!
FAQs
Can I make this recipe without an ice cream maker? Yes, you can use the freeze-and-stir method by placing the custard in a shallow container and stirring every 30 minutes for 3-4 hours, though the texture won’t be as smooth as machine-churned ice cream.
How do I fix ice crystals in my homemade ice cream? Ice crystals usually form from temperature fluctuations or improper storage; let the ice cream soften slightly at room temperature for 5-10 minutes before serving, and ensure proper airtight storage.
Can I use milk chocolate instead of dark chocolate? Milk chocolate will create a milder flavor and slightly different texture due to added milk solids and sugar; reduce the sugar in the recipe by 2 tablespoons if using milk chocolate.
Why is my chocolate ice cream base not thickening? The custard needs to reach 170°F to properly thicken; if it’s not thickening, continue cooking on low heat while stirring constantly until it coats the back of a spoon.
How long does homemade chocolate ice cream last in the freezer? Properly stored homemade ice cream maintains best quality for 2-3 months in the freezer, though it remains safe to eat beyond this timeframe with possible changes in texture and flavor.
Can I add mix-ins to this chocolate ice cream recipe? Add mix-ins like chocolate chips, nuts, or cookie pieces during the last 2-3 minutes of churning to ensure even distribution without over-mixing the base.
Your Feedback Matters
There are no reviews yet. Be the first one to write one.
3 Comments
Comments are closed.