Hot Cocoa Recipe: How to Make the Best Mug
The average American consumes over 12 pounds of chocolate annually, yet most have never experienced the rich satisfaction of a properly crafted homemade hot cocoa recipe. Unlike commercial powdered mixes that often contain just 20% actual cocoa, this hot cocoa recipe delivers a genuine chocolate experience using simple ingredients you likely already have in your pantry. Whether you’re seeking comfort on a chilly evening or looking to impress guests with a luxurious beverage, this definitive hot cocoa recipe transforms ordinary ingredients into an extraordinary mug of warmth and flavor.
Table of Contents
Ingredients List
For this exceptional hot cocoa recipe, gather these quality ingredients (serves 2):
- 2 cups whole milk (for ultimate creaminess)
- 4 tablespoons unsweetened cocoa powder (Dutch-processed preferred for deeper flavor)
- 3 tablespoons granulated sugar (adjust to taste)
- 2 ounces high-quality dark chocolate (60-70% cacao), chopped finely
- 1/4 teaspoon pure vanilla extract
- Pinch of salt (enhances chocolate flavor)
- Optional: 1/4 teaspoon ground cinnamon
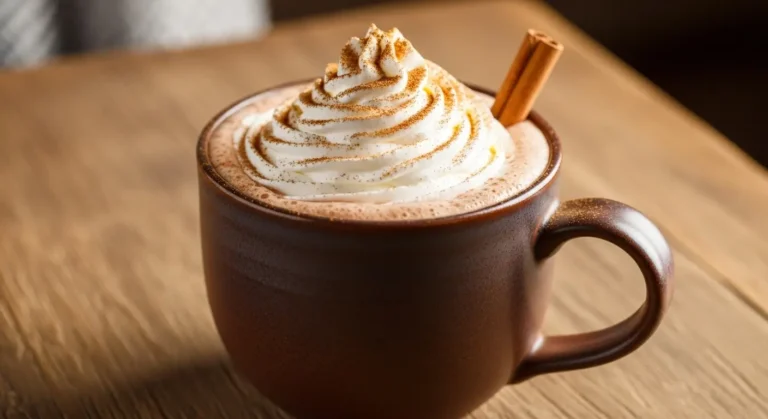
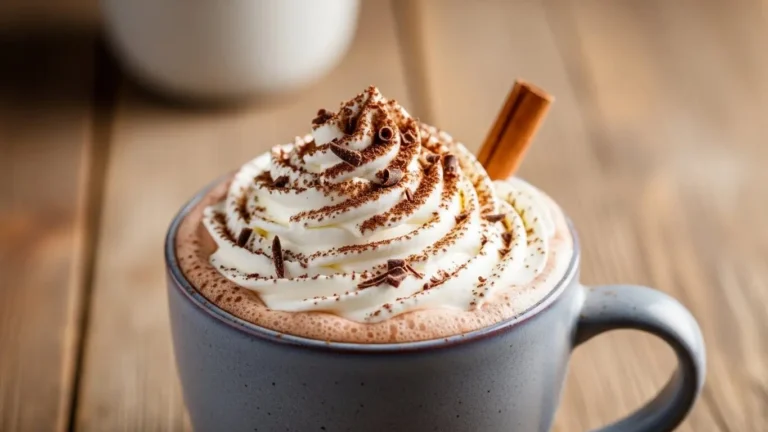
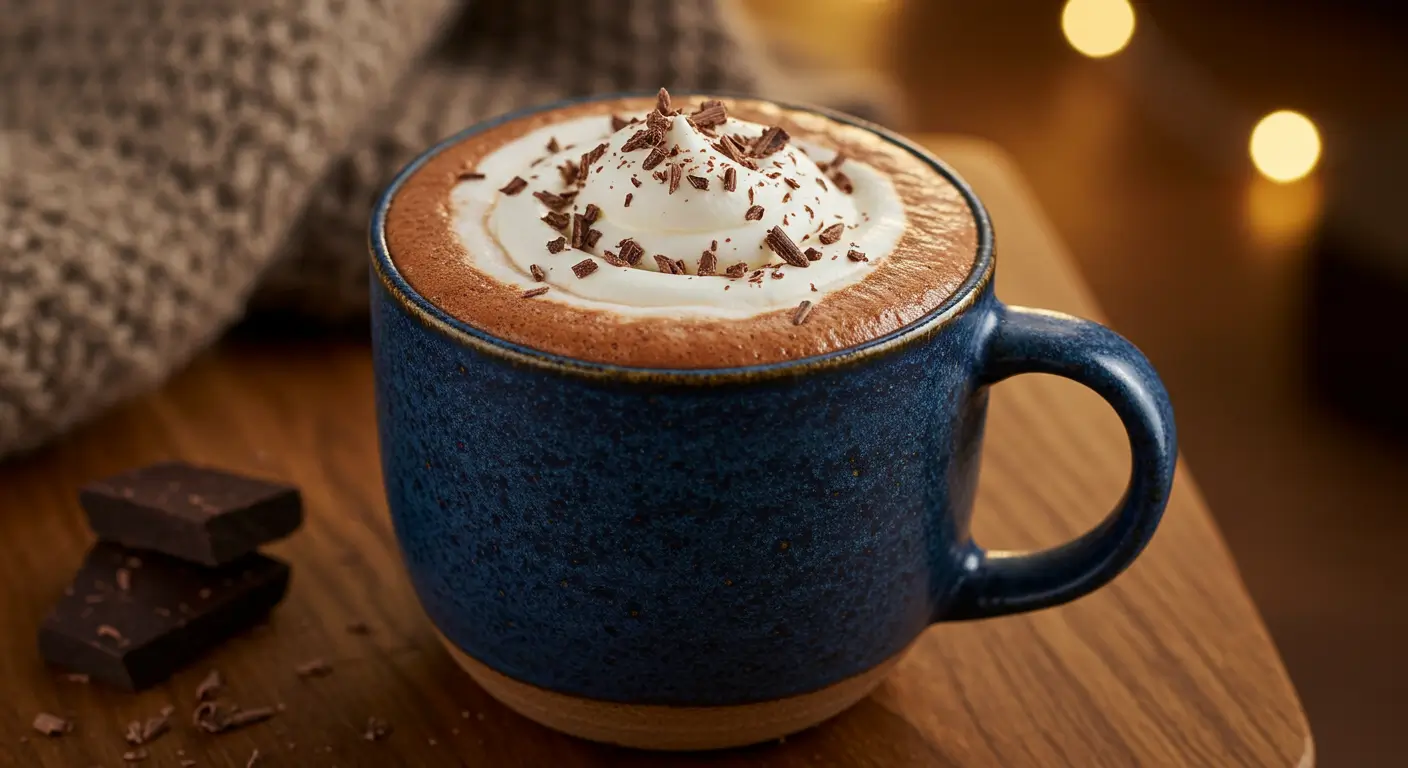
- For garnish: whipped cream, mini marshmallows, chocolate shavings, or cinnamon stick
Ingredient Substitutions:
- Plant-based milk (oat milk creates the creamiest dairy-free version)
- Coconut sugar or honey instead of granulated sugar
- Unsweetened carob powder for a caffeine-free alternative
- Dairy-free chocolate for vegan hot cocoa
- Almond or peppermint extract instead of vanilla for flavor variations
Timing
Preparation Time: 3 minutes
Cooking Time: 7 minutes
Total Time: 10 minutes
This hot cocoa recipe requires significantly less time than gourmet café versions that often take 15-20 minutes, while delivering comparable flavor complexity. The active cooking process is brief, allowing you to enjoy your hot cocoa with minimal waiting.
Step-by-Step Instructions
Step 1: Prepare Your Ingredients
Measure all ingredients before beginning. Chop the chocolate into small, uniform pieces to ensure even melting. This preparation step is crucial for your hot cocoa recipe’s success, as it prevents the need to step away during the cooking process when timing is critical.
Step 2: Combine Dry Ingredients
In a medium saucepan (before adding any liquid), whisk together the cocoa powder, sugar, and salt. This dry-mixing technique prevents cocoa clumps from forming in your hot cocoa recipe and ensures the sugar distributes evenly. If adding cinnamon, incorporate it now for optimal flavor integration.
Step 3: Create a Chocolate Paste
Add about 2 tablespoons of the milk to your dry mixture, stirring to create a smooth paste. This crucial yet often overlooked step in the hot cocoa recipe prevents lumps and creates a silky-smooth texture in the final drink. Ensure all cocoa powder is incorporated before proceeding.
Step 4: Add Remaining Milk
Gradually pour in the remaining milk while whisking continuously. This technique, borrowed from professional chocolatiers, ensures your hot cocoa recipe develops a perfectly smooth consistency without any powdery residue or unpleasant texture.
Step 5: Heat Gently
Place the saucepan over medium-low heat. Stir frequently with a whisk or wooden spoon to prevent scorching. Never allow your hot cocoa recipe mixture to boil, as this can compromise the milk’s texture and create a less velvety mouthfeel. Maintain the temperature between 160-180°F for optimal flavor development.
Step 6: Add Chocolate and Vanilla
When the mixture is steaming hot (but not boiling), add the chopped chocolate and remove from heat. Stir continuously until the chocolate completely melts and incorporates into the hot cocoa. Once smooth, stir in the vanilla extract. This layering of chocolate sources creates the depth of flavor that distinguishes an exceptional hot cocoa recipe.
Step 7: Froth for Creaminess (Optional)
For café-quality hot cocoa, use a small whisk, handheld frother, or blend briefly in a blender to create a light foam. This introduces air into your hot cocoa recipe, enhancing both texture and temperature retention.
Step 8: Serve with Care
Pour immediately into prewarmed mugs. Prewarming mugs (by filling with hot water for 30 seconds, then emptying) keeps your hot cocoa recipe at the perfect temperature longer. Add your chosen toppings and serve while steaming hot for the ultimate experience.
Nutritional Information
Per serving of this hot cocoa recipe (without toppings):
- Calories: 285
- Total Fat: 14g
- Saturated Fat: 8g
- Cholesterol: 24mg
- Sodium: 125mg
- Total Carbohydrates: 34g
- Dietary Fiber: 4g
- Sugars: 26g
- Protein: 9g
The nutritional profile of this hot cocoa recipe reflects its use of whole ingredients rather than artificial additives found in commercial mixes, providing sustained energy along with satisfaction.
Healthier Alternatives for the Recipe
Transform this classic hot cocoa recipe into a more nutritious treat with these thoughtful modifications:
- Replace whole milk with unsweetened almond milk to reduce calories by approximately 100 per serving
- Substitute half the sugar with monk fruit sweetener or stevia for a lower glycemic impact
- Use raw cacao powder instead of processed cocoa for increased antioxidant content
- Add 1 teaspoon of maca powder for an adaptogenic boost
- Incorporate a tablespoon of collagen peptides for added protein (dissolves without affecting flavor)
- Use 70-85% dark chocolate to reduce sugar content while maintaining richness
- Add a tablespoon of coconut oil for healthy fats that create sustained energy
- Include a pinch of cayenne pepper to boost metabolism and enhance chocolate flavor
These adjustments maintain the soul-warming essence of the hot cocoa recipe while creating a more nutritionally balanced beverage.
Serving Suggestions
Elevate your hot cocoa recipe with these inspiring serving ideas:
- Create a hot cocoa bar with various toppings: cinnamon sticks, star anise, chocolate curls, crushed peppermint, and flavored whipped creams
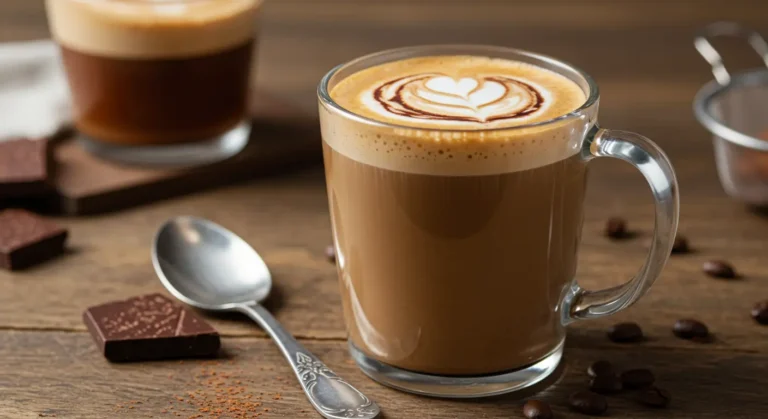
- Serve in clear glass mugs to showcase the rich color and toppings
- Pair with buttery shortbread cookies or biscotti for delightful texture contrast
- For adults, add 1 oz of Baileys, Kahlúa, or bourbon for an elevated evening treat
- Serve with a side of fresh berries to complement the chocolate richness
- Create hot cocoa “bombs” by freezing portions in silicone molds for quick future preparation
- Offer a side of warm, lightly salted popcorn for a sweet-savory experience
- Provide cinnamon or chocolate dipped spoons that gradually melt, adding flavor complexity
Common Mistakes to Avoid
Perfect your hot cocoa recipe by avoiding these frequent pitfalls:
- Boiling the Milk: High heat breaks down milk proteins, creating a thin, less satisfying hot cocoa. Maintain temperature below 180°F for optimal texture and flavor.
- Using Cold Ingredients: Starting with cold cocoa powder and refrigerated chocolate increases cooking time and can result in uneven melting. Allow ingredients to reach room temperature before beginning your hot cocoa recipe.
- Skipping the Salt: Many home cooks omit salt, not realizing it enhances chocolate flavor by blocking bitter receptors. Even a tiny pinch elevates your hot cocoa recipe significantly.
- Rushing the Process: Heating too quickly creates inconsistent texture. About 75% of homemade hot cocoa fails due to impatience during preparation.
- Neglecting to Sift Cocoa Powder: Lumpy cocoa creates an unpleasant texture. When cocoa has been stored for more than 30 days, sifting becomes particularly important.
- Using Low-Quality Chocolate: The flavor complexity of your hot cocoa recipe directly correlates with chocolate quality. Reserve chocolate chips for cookies, not beverages, as they contain stabilizers that affect melting.
Storing Tips for the Recipe
Maximize convenience with these hot cocoa recipe storage solutions:
- Prepare a dry hot cocoa mix by combining cocoa powder, sugar, salt, and spices in an airtight container. This base mixture stays fresh for up to 3 months.
- Store chopped chocolate separately in an airtight container at cool room temperature.
- For ready-to-heat portions, mix the dry ingredients for a single serving into small jars or bags for grab-and-go convenience.
- If you’ve made more hot cocoa than needed, refrigerate leftovers in a sealed container for up to 2 days. Reheat gently on the stovetop (never microwave, which creates uneven hot spots).
- Create hot cocoa concentrate by preparing a triple-strength recipe without milk, then refrigerate in a jar. Dilute with hot milk when ready to serve.
- For camping or travel, pre-measure ingredients into compostable tea bags that can be steeped in hot milk.
- When storing prepared hot cocoa, place plastic wrap directly on the surface to prevent skin formation.
Conclusion
This ultimate hot cocoa recipe transforms simple pantry ingredients into a luxurious beverage with rich chocolate depth and silky texture. By focusing on quality ingredients, proper technique, and thoughtful serving options, you’ll create a comforting drink that surpasses any commercial mix. Try this hot cocoa recipe today and share your experience in the comments section below!
FAQs
Q: Can I make this hot cocoa recipe with water instead of milk?
A: Yes, though the result will be less creamy. If using water, increase the chocolate by 1 ounce and consider adding 1 tablespoon of heavy cream or coconut cream to maintain richness in your hot cocoa recipe.
Q: Why does my hot cocoa develop a film on top when cooling?
A: This “skin” forms from milk proteins coagulating when exposed to air. Prevent this by keeping your hot cocoa recipe covered, continuously stirring, or embracing it as a traditional aspect of homemade hot chocolate.
Q: Is this hot cocoa recipe suitable for large batch preparation?
A: Absolutely! The recipe scales perfectly up to 8 servings. For larger quantities, maintain the same ratios but use a larger pot and extend heating time slightly, being vigilant about even warming to preserve the quality of your hot cocoa recipe.
Q: How does this hot cocoa recipe differ from hot chocolate?
A: Traditional hot chocolate uses melted chocolate as the primary ingredient, while hot cocoa recipes rely primarily on cocoa powder with some added chocolate. This hybrid approach provides both the intense flavor of cocoa powder and the silky mouthfeel of melted chocolate.
Your Feedback Matters
There are no reviews yet. Be the first one to write one.