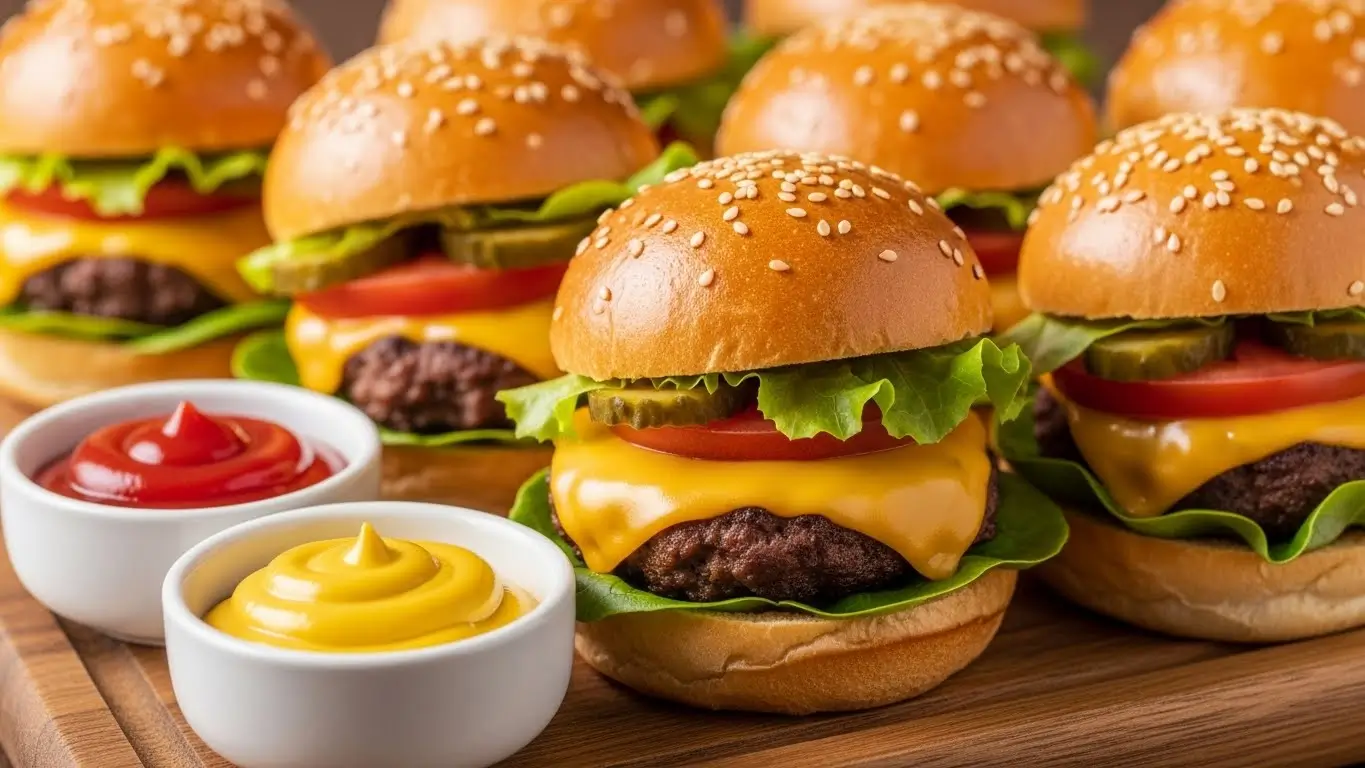
Mini Cheeseburger Sliders – Easy Crowd-Pleasing Recipe
Why do smaller versions of classic dishes consistently outperform their full-sized counterparts at parties and gatherings? The psychology behind bite-sized food reveals that guests consume more variety when portions feel manageable, making mini cheeseburger sliders the undisputed champion of casual entertaining. These mini cheeseburger sliders pack all the juicy, cheesy satisfaction of a traditional burger into a perfectly portioned package that guests can enjoy without plates or utensils. Whether you’re planning a Super Bowl party, birthday celebration, or backyard barbecue, mastering these mini cheeseburger sliders ensures your food disappears fast while keeping prep time minimal and stress levels low.
Table of Contents
Ingredients List
For these mini cheeseburger sliders you’ll need:
- 2 pounds ground beef
- 12 slider buns or dinner rolls
- 12 slices American or cheddar cheese
- 1/2 cup diced onions
- 2 cloves garlic, minced
- 1 teaspoon salt
- 1/2 teaspoon black pepper
- 1/2 teaspoon garlic powder
- 1/2 teaspoon onion powder
- 2 tablespoons butter, melted
- 1/2 teaspoon sesame seeds
- Lettuce leaves
- Tomato slices
- Pickle slices
- Ketchup, mustard, and mayonnaise for serving
Timing
These mini cheeseburger sliders require:
- Preparation time: 15 minutes
- Cooking time: 20 minutes
- Total time: 35 minutes
Step-by-Step Instructions
Step 1: Prepare the Beef Patties
In a large bowl, combine the ground beef with diced onions, minced garlic, salt, black pepper, garlic powder, and onion powder. Mix gently with your hands until just combined, being careful not to overwork the meat. Divide the mixture into 12 equal portions, roughly 2-3 ounces each. Shape each portion into a thin patty slightly larger than your slider buns, as they’ll shrink during cooking. Create a small indentation in the center of each patty with your thumb to prevent bulging while cooking. The key to juicy mini cheeseburger sliders is handling the meat minimally and keeping the patties uniform in size.
Step 2: Cook the Patties
Heat a large skillet or griddle over medium-high heat. Once hot, add the patties in batches, being careful not to crowd the pan. Cook for 3-4 minutes on the first side without moving them, allowing a nice crust to develop. Flip the patties and immediately top each with a slice of cheese. Cook for an additional 3-4 minutes until the cheese melts and the internal temperature reaches 160°F. The cheese should be completely melted and slightly draped over the edges of the patties. Transfer cooked sliders to a plate and tent with foil to keep warm while you finish the remaining batches.
Step 3: Toast the Buns
While the patties rest, prepare your slider buns for optimal texture. Slice the buns in half horizontally if they aren’t pre-sliced. Brush the cut sides lightly with melted butter and sprinkle with sesame seeds for extra flavor. Place the buns cut-side down on the still-warm skillet or griddle for 1-2 minutes until golden and lightly crispy. Toasting prevents soggy buns and adds a delightful crunch that contrasts beautifully with the juicy patties in your mini cheeseburger sliders.
Step 4: Assemble the Sliders
Now comes the fun part—building your mini cheeseburger sliders. Place the bottom buns on a serving platter or cutting board. Add your desired condiments to the bottom bun: a smear of mayonnaise, ketchup, or mustard works perfectly. Layer on lettuce leaves, followed by the cheese-topped patty, then add tomato slices and pickles. The layering order matters—placing wet ingredients like tomatoes away from the bun helps prevent sogginess. Top with the upper bun and press down gently to help everything stick together.
Step 5: Serve Warm
Arrange your assembled mini cheeseburger sliders on a large platter for immediate serving. For parties, consider securing each slider with a decorative toothpick to hold everything together and make them easier to grab. Serve while the patties are still warm and the cheese is melty for the best taste and texture. Set out additional condiments, napkins, and maybe some French fries or potato chips on the side for a complete slider experience that will have guests coming back for seconds.
Nutritional Information
For a serving of these mini cheeseburger sliders (this recipe serves 6 people, approximately 2 sliders per person):
- Calories: 485
- Total Fat: 26g
- Saturated Fat: 11g
- Cholesterol: 95mg
- Sodium: 720mg
- Total Carbohydrates: 32g
- Dietary Fiber: 2g
- Sugars: 5g
- Protein: 30g
- Iron: 4mg
- Calcium: 180mg
- Vitamin A: 250 IU
Healthier Alternatives for the Recipe
Transform your mini cheeseburger sliders into a healthier version with these modifications:
- Lean Ground Turkey: Replace ground beef with 93% lean ground turkey or chicken to reduce saturated fat while maintaining protein content
- Whole Wheat Buns: Use whole wheat slider buns for added fiber and nutrients that support digestive health
- Lettuce Wraps: Skip the buns entirely and wrap your sliders in large lettuce leaves for a low-carb, keto-friendly option
- Reduced-Fat Cheese: Choose 2% milk cheese slices instead of full-fat American cheese to cut calories and saturated fat
- Greek Yogurt Sauce: Mix Greek yogurt with herbs and spices as a healthier alternative to mayonnaise-based condiments
- Veggie Additions: Mix finely diced mushrooms or zucchini into the meat mixture to increase vegetable content and reduce meat quantity
- Baked Option: Form larger patties and bake at 375°F for 15-18 minutes instead of pan-frying to eliminate added cooking oils
Serving Suggestions
Elevate your mini cheeseburger sliders experience with these ideas:
- Create a slider bar with various toppings like caramelized onions, sautéed mushrooms, bacon strips, avocado slices, and different cheese varieties
- Serve on a wooden board with small bowls of various sauces including special sauce, BBQ sauce, sriracha mayo, and garlic aioli
- Pair with classic sides like crispy French fries, sweet potato fries, onion rings, coleslaw, or potato salad for a complete meal
- Arrange sliders on tiered serving stands for an impressive buffet presentation that saves table space
- Offer alongside other finger foods like chicken wings, mozzarella sticks, and veggie platters for a diverse party spread
- Serve with craft beers, sodas, lemonade, or milkshakes to complete the classic American diner experience
- Use decorative toothpicks with team colors or themed flags for sports viewing parties or celebrations
Common Mistakes to Avoid
Master these mini cheeseburger sliders by avoiding these pitfalls:
- Overworking the Meat: Mixing and handling ground beef too much creates tough, dense patties instead of tender, juicy sliders
- Making Patties Too Thick: Thick patties don’t cook evenly in the short timeframe and can overwhelm the small buns proportionally
- Skipping the Thumb Indent: Forgetting to create a center dimple causes patties to puff up into balls during cooking
- Cooking at Wrong Temperature: Too high heat burns the outside before the inside cooks; too low prevents proper browning and crust formation
- Moving Patties Too Much: Constantly flipping or pressing patties squeezes out juices and prevents the flavorful crust from developing
- Adding Cheese Too Early: Putting cheese on too soon causes it to burn or slide off before the patty finishes cooking
- Soggy Bun Syndrome: Skipping the toasting step or overloading with wet condiments creates unpleasant, falling-apart sliders
Storing Tips for the Recipe
Preserve the freshness of your mini cheeseburger sliders with these strategies:
- Separate Storage: Store cooked patties and buns separately in airtight containers to prevent sogginess, keeping patties refrigerated for up to 3 days
- Proper Reheating: Warm patties in a covered skillet over low heat or microwave with a damp paper towel to retain moisture
- Freezer-Friendly Patties: Freeze uncooked seasoned patties between parchment paper squares in freezer bags for up to 3 months
- Quick Assembly: Store toppings prepped in separate containers so you can quickly assemble fresh sliders when ready to serve
- Make-Ahead Strategy: Cook patties a few hours ahead and keep warm in a 200°F oven, assembling sliders just before serving
- Leftover Solutions: Refrigerate assembled sliders wrapped individually in foil, then reheat in a 300°F oven for 10-12 minutes
- Bun Freshness: Keep slider buns in their original packaging at room temperature for 2-3 days or freeze for longer storage
Conclusion
Mini cheeseburger sliders combine nostalgic comfort food flavors with party-perfect portioning. This simple recipe delivers consistently delicious results that satisfy crowds while minimizing your time in the kitchen.
Ready to become the host everyone remembers? Try these mini cheeseburger sliders and share your results in the review section below. Leave a comment on our blog with your favorite topping combinations or creative variations!
FAQs
Can I make mini cheeseburger sliders ahead of time? Yes! Cook the patties up to 24 hours ahead and refrigerate. Toast buns and assemble sliders 1-2 hours before serving, keeping them warm in a low oven.
What’s the best cheese for sliders? American cheese melts beautifully and provides classic flavor, but cheddar, pepper jack, Swiss, or provolone all work wonderfully depending on your taste preferences.
How do I keep sliders from falling apart? Toast the buns, don’t overload with toppings, layer strategically with lettuce as a barrier, and secure with toothpicks if needed.
Can I grill these instead of pan-frying? Absolutely! Grill over medium-high heat for 3-4 minutes per side. The smaller size means they cook quickly, so watch carefully to prevent overcooking.
What size should I make the patties? Make patties slightly larger than your buns—about 2.5-3 inches in diameter. They’ll shrink during cooking to fit perfectly on slider buns.
How do I prevent dry sliders? Use ground beef with at least 15-20% fat, don’t overcook past 160°F, avoid pressing down on patties while cooking, and let them rest before assembling.
Your Feedback Matters
There are no reviews yet. Be the first one to write one.