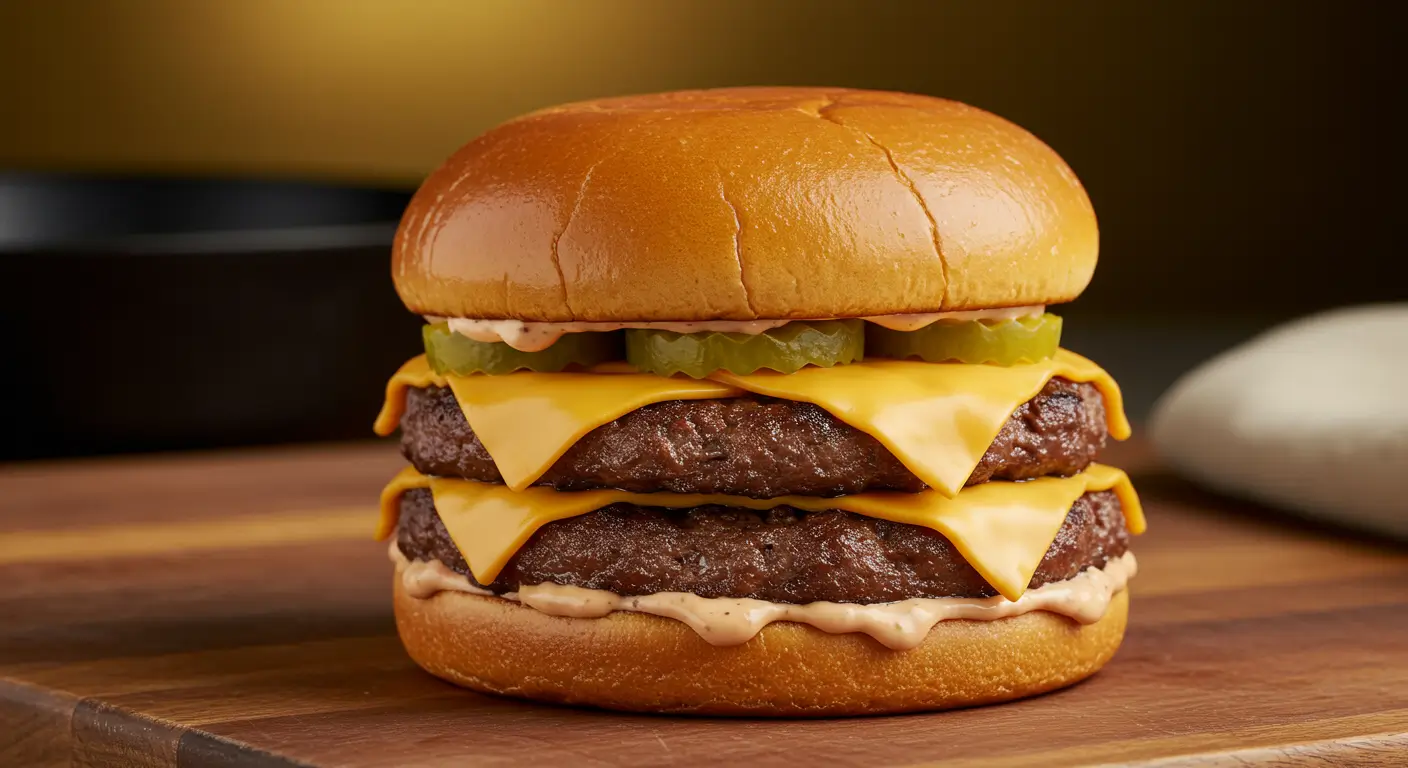
Homemade Smash Burger Recipe: Step-by-Step Guide
What makes restaurant-quality burgers develop those irresistibly crispy, caramelized edges and juicy interiors that home cooks struggle to replicate on their backyard grills? The answer lies not in expensive equipment or secret ingredients, but in a simple technique that contradicts everything traditional burger wisdom teaches about gentle handling. This smash burger recipe reveals that aggressively pressing ground beef onto a scorching hot surface creates the Maillard reaction that produces those coveted crispy edges and complex flavors that define exceptional burgers.
Table of Contents
Ingredients List
For this smash burger recipe you’ll need simple, high-quality ingredients that allow the beef and cooking technique to shine without unnecessary complications.
- 1 pound ground beef
- Freshly ground black pepper
- 4 soft burger buns
- 4 slices American cheese
- 1 tablespoon butter for toasting buns
- Salt to taste
- Optional: 8 thin dill pickle slices for tangy contrast
- Optional: Thinly sliced white or red onion for sharp flavor
Special Sauce:
- 1/4 cup mayonnaise
- 2 tablespoons ketchup
- 1 tablespoon yellow mustard
- 1 teaspoon dill pickle juice
- 1/2 teaspoon garlic powder
- 1/4 teaspoon paprika
- Pinch of cayenne pepper for subtle heat
Timing
This smash burger recipe requires minimal preparation time while delivering maximum flavor through strategic high-heat cooking:
- Prep time: 15 minutes
- Cooking time per batch: 4-5 minutes
- Bun toasting: 2 minutes
- Total time: 25-30 minutes
Step-by-Step Instructions
Step 1: Prepare the Special Sauce
Begin by whisking together mayonnaise, ketchup, mustard, pickle juice, garlic powder, paprika, and cayenne in a small bowl until completely smooth and well-integrated. This advance preparation allows flavors to meld while you focus on cooking the burgers. Refrigerate until ready to assemble.
Step 2: Portion the Beef
Divide ground beef into 8 equal portions of approximately 2 ounces each, gently rolling them into loose balls without overworking the meat. Avoid compressing the beef, which can create dense texture. The loose structure allows for better smashing and creates those signature lacy edges.
Step 3: Preheat Your Cooking Surface
Heat your cast iron skillet or griddle over high heat for 5-7 minutes until smoking hot. This extreme temperature is crucial for achieving proper crust development and preventing sticking. Test readiness by flicking water drops that should immediately evaporate and sizzle.
Step 4: Execute the Smash
Place one beef ball on the scorching surface and immediately press down firmly with your spatula, using parchment paper between spatula and meat to prevent sticking. Apply significant pressure for 10-15 seconds to create a thin patty approximately 1/4 inch thick with irregular, lacy edges that will crisp beautifully.
Step 5: Season and Cook First Side
Immediately after smashing, generously season the exposed side with salt and pepper. Allow the burger to cook undisturbed for 2-2.5 minutes until deeply browned edges form and the patty releases easily from the cooking surface. Resist the urge to move or check the burger during this crucial crust development phase.
Step 6: Flip and Finish
Using your spatula, scrape under the patty to release all crispy bits and flip in one confident motion. Season the second side immediately and cook for an additional 1-1.5 minutes. Add cheese during the final 30 seconds, covering briefly with a lid to encourage melting.
Step 7: Toast Buns and Assemble
While the final batch cooks, butter the cut sides of burger buns and toast face-down on the cooking surface until golden brown. Spread special sauce on both bun halves, stack two patties per burger, add pickles and onions if desired, and serve immediately while the cheese is still melting.
Nutritional Information
For a serving of this smash burger recipe, you’ll receive a satisfying meal that provides complete protein and essential nutrients:
- Calories: 585 per burger (with two patties)
- Protein: 32g
- Carbohydrates: 28g
- Dietary fiber: 1.5g
- Total fat: 38g
- Saturated fat: 16g
- Cholesterol: 115mg
- Sodium: 895mg
- Iron: 22% daily value
- Calcium: 18% daily value
- Vitamin B12: 45% daily value
- Zinc: 38% daily value
- Phosphorus: 28% daily value
Healthier Alternatives for the Smash Burger Recipe
Transform your smash burger recipe into a healthier version with these modifications that maintain flavor while enhancing nutritional benefits:
- Leaner beef option: Use 90/10 ground beef to reduce fat content while maintaining adequate moisture for proper cooking
- Turkey or chicken substitution: Replace beef with ground turkey or chicken for lower saturated fat, though cooking time may need slight adjustment
- Whole grain buns: Switch to whole wheat or sprouted grain buns for increased fiber and nutrient density
- Lettuce wrap alternative: Skip the bun entirely and use large lettuce leaves for low-carb, grain-free preparation
- Greek yogurt sauce: Replace mayonnaise with Greek yogurt in the special sauce for protein boost and reduced fat content
- Vegetable additions: Layer tomato slices, lettuce, and grilled mushrooms to increase vegetable intake and add nutrients
- Reduced cheese portion: Use one slice instead of two or choose lower-fat cheese options to decrease saturated fat
Serving Suggestions
Elevate your smash burger recipe experience with these ideas that transform simple burgers into complete, memorable meals:
- Serve with crispy French fries or sweet potato fries for classic diner-style presentation
- Pair with creamy coleslaw and dill pickle spears for textural contrast and palate-cleansing acidity
- Offer alongside loaded tater tots or onion rings for indulgent weekend meal experiences
- Create a burger bar with various toppings like bacon, avocado, jalapeños, and different cheese options
- Serve this smash burger recipe with fresh garden salad dressed lightly to balance the burger’s richness
- Pair with craft beer, milkshakes, or old-fashioned sodas for authentic American diner atmosphere
- Accompany with grilled corn on the cob and baked beans for complete summer cookout meals
- Offer with seasoned potato wedges and garlic aioli for elevated casual dining presentation
Common Mistakes to Avoid
Master this smash burger recipe by avoiding these pitfalls that can compromise crust development and overall quality:
- Using insufficient heat: Moderate temperatures prevent proper crust formation and cause sticking instead of releasing cleanly from the cooking surface
- Moving the patty prematurely: Disturbing the burger before a proper crust forms tears the meat and prevents that signature crispy exterior
- Overworking the ground beef: Excessive handling creates dense, tough texture rather than the tender interior that defines excellent smash burgers
- Smashing too gently: Timid pressure creates thick patties that defeat the entire purpose of the smash burger technique
- Using lean ground beef: Insufficient fat content results in dry burgers that lack the juiciness essential for proper texture and flavor
- Overcrowding the cooking surface: Too many patties at once reduces surface temperature and creates steam that prevents crust formation
- Seasoning before smashing: Adding salt too early draws out moisture that interferes with browning and crust development
Storing Tips for the Smash Burger Recipe
Preserve the freshness of your smash burger recipe components with these strategies that maintain quality for future meals:
- Uncooked patty storage: Shape beef balls and refrigerate for up to 24 hours or freeze for up to 3 months before cooking
- Sauce preparation: Special sauce keeps refrigerated in airtight containers for up to 1 week, improving in flavor as ingredients meld
- Cooked burger handling: While best enjoyed immediately, cooked patties can be refrigerated for 3 days and reheated in a skillet
- Freezing cooked patties: Wrap individually and freeze for up to 2 months, though texture won’t match freshly cooked results
- Bun preservation: Store burger buns in airtight containers at room temperature for 3 days or freeze for up to 1 month
- Cheese storage: Keep cheese slices properly wrapped and refrigerated, using within recommended package dates for best melting
- Vegetable preparation: Slice onions and prepare toppings up to 24 hours ahead, storing separately in sealed containers
Conclusion
This smash burger recipe delivers restaurant-quality results through simple technique and high heat rather than complicated ingredients or equipment. The aggressive smashing creates maximum crust development and juiciness, proving that proper method matters more than burger thickness for exceptional flavor and texture.
Ready to create the ultimate homemade burger experience? Try this smash burger recipe today and share your experience in the comments below. We’d love to hear about your favorite topping combinations or creative variations that made these burgers uniquely yours!
FAQs
What’s the best fat content for ground beef in smash burgers? The ideal ratio is 80/20 (meat to fat), providing sufficient fat for juiciness and flavor without excessive grease that can cause flare-ups or overly greasy results.
Can I make this smash burger recipe without a cast iron skillet? While cast iron is ideal for heat retention, any heavy flat griddle or stainless steel pan works. Avoid non-stick surfaces as they can’t achieve the necessary high temperatures.
Why do my smash burgers stick to the cooking surface? Insufficient heat is the most common cause. Ensure your cooking surface is smoking hot before adding beef, and resist moving the patty until a crust forms.
How thin should I smash the burger patties? Aim for approximately 1/4 inch thickness with irregular, lacy edges. The thinner areas will crisp beautifully while the center remains juicy.
Should I add anything to the ground beef before cooking? No, pure ground beef works best. Adding binders or seasonings before cooking interferes with texture and the signature crust development.
How do I prevent my burgers from shrinking too much? Using proper fat ratio and avoiding overworking the meat minimizes shrinkage. Some shrinkage is normal due to fat rendering during high-heat cooking.
Your Feedback Matters
There are no reviews yet. Be the first one to write one.