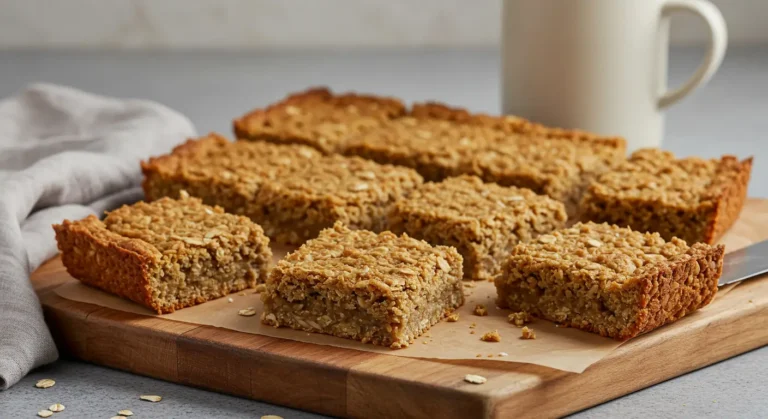
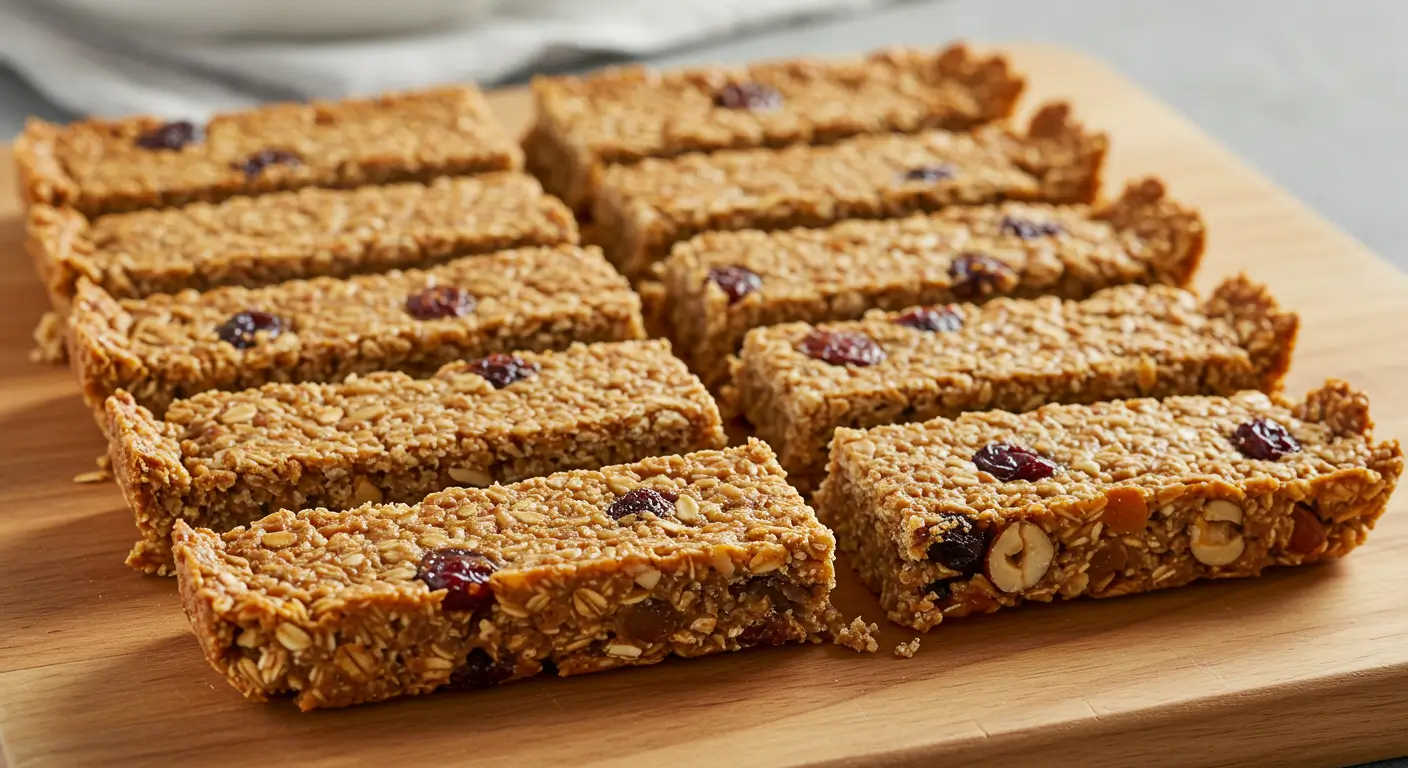
The Granola Bar: 5 Steps to a Perfect Breakfast
Most Americans consume breakfast in under 12 minutes, yet this meal impacts cognitive performance for up to 6 hours afterward. The granola bar offers a solution to this time-nutrition paradox, providing sustained energy in a convenient format that requires zero morning preparation time. As a versatile cold breakfast recipe, the granola bar has evolved from simple oat mixtures to sophisticated nutritional powerhouses. Crafting the perfect granola bar at home delivers superior nutrition, flavor, and customization compared to commercial alternatives, making the granola bar an ideal breakfast choice for health-conscious individuals.
Table of Contents
Ingredients List
Creating the perfect granola bar requires thoughtfully selected ingredients that work together to deliver optimal texture, flavor, and nutritional benefits. The granola bar’s success depends entirely on balancing these key components:
- 2 cups rolled oats
- 1 cup mixed nuts and seeds
- ½ cup honey or maple syrup
- ¼ cup nut butter
- ⅓ cup coconut oil or butter
- 1 teaspoon vanilla extract
- ½ teaspoon salt
- 1 teaspoon cinnamon
- ⅓ cup mini chocolate chips or dried fruit
- 2 tablespoons flaxseed meal
Timing
The granola bar preparation requires approximately 20 minutes of active time and 40 minutes of cooling time – making the total preparation time just 1 hour.
Step-by-Step Instructions
Step 1: Toast the Dry Ingredients
Preheat your oven to 350°F (175°C). Spread your oats and nuts/seeds evenly on a baking sheet. Toast for 8-10 minutes, stirring halfway through, until golden and fragrant. This critical step develops a nutty, complex flavor profile that elevates the granola bar beyond simple raw ingredients – a technique used by professional chefs but often skipped in basic recipes.
Step 2: Prepare Your Binding Mixture
While the dry ingredients toast, combine your wet ingredients (honey/maple syrup, nut butter, coconut oil/butter, vanilla extract, salt, and cinnamon) in a medium saucepan over low heat. Stir continuously until fully melted and integrated into a smooth, glossy mixture. The temperature of this mixture is crucial – too hot and it will melt add-ins like chocolate chips, too cool and it won’t properly bind your granola bars. The granola bar’s structural integrity depends largely on this binding mixture being properly prepared.
Step 3: Combine and Mix Thoroughly
Transfer your toasted dry ingredients to a large mixing bowl. Pour the warm binding mixture over them, then fold everything together with a spatula until every oat and nut is coated. If using chocolate chips, allow the mixture to cool for 5 minutes before adding them to prevent melting. For dried fruit or other heat-resistant add-ins, incorporate them immediately for even distribution throughout your granola bar.
Step 4: Press and Compact
Line an 8×8 or 9×9-inch baking pan with parchment paper, leaving overhang on the sides for easy removal. Transfer your mixture to the pan, then use another piece of parchment paper to press down firmly and evenly with your hands. For professional-quality granola bars, use the bottom of a measuring cup to apply significant pressure, creating a tightly-packed surface that will hold together when cut. The granola bar’s texture and stability come from this crucial compression step. This technique is the difference between crumbly failures and perfectly intact bars.
Step 5: Cool and Cut
Allow your granola bar mixture to cool completely at room temperature for at least 2 hours, or accelerate the process by refrigerating for 30-40 minutes. Once fully set, use the parchment paper overhang to lift the entire slab onto a cutting board. With a sharp knife, cut into 12-16 bars or squares depending on your preferred size. For the cleanest cuts, wipe your knife between slices and use gentle pressure rather than sawing motions.
Nutritional Information
Each granola bar (based on a yield of 12 bars) provides:
- Calories: 220-250 kcal
- Protein: 5-7g
- Carbohydrates: 25-30g
- Fiber: 3-4g
- Sugar: 12-15g
- Fat: 10-12g
- Iron: 8% of daily value
- Magnesium: 12% of daily value
- Zinc: 5% of daily value
Nutritional content varies based on specific ingredient choices, with nut-heavy versions providing more protein and healthy fats, while fruit-heavy versions offer more antioxidants and natural sugars in your granola bar.
Healthier Alternatives for the Recipe
Transform the granola bar into an even more nutritious breakfast with these thoughtful modifications. The granola bar’s versatility makes it perfect for dietary customization:
- Reduce sugar content by decreasing honey/maple syrup to ⅓ cup and adding 2 tablespoons of unsweetened applesauce for moisture and natural sweetness
- Boost protein content by incorporating ¼ cup of unflavored or vanilla protein powder into the dry ingredients
- Create a lower glycemic version by using brown rice syrup in place of honey and choosing lower-sugar dried fruits like blueberries or raspberries
- Develop grain-free options by replacing oats with a mixture of coconut flakes, chopped nuts, and seeds for a paleo-friendly granola bar
- Increase omega-3 content by doubling the flaxseed meal and adding 2 tablespoons of chia seeds to the dry ingredients
- Make a fiber-rich version by incorporating 2 tablespoons of psyllium husk into the dry mixture for digestive health benefits
Serving Suggestions
Elevate your granola bar experience with these creative serving ideas. The granola bar’s versatility extends beyond standalone consumption:
- Breakfast parfait base – Crumble your granola bar over Greek yogurt with fresh berries for a balanced morning meal
- Smoothie companion – Pair with a green smoothie for a perfect macro-nutrient breakfast combination
- Trail mix clusters – Cut into bite-sized pieces and mix with additional dried fruit for an energy-boosting snack
- Ice cream topping – For an occasional treat, crumble over vanilla ice cream for a dessert with texture contrast
- Breakfast board component – Include whole bars as part of a weekend brunch spread alongside fresh fruit and cheeses
- Yogurt dipper – Use firm bars as “dippers” for a small container of Greek yogurt for an interactive breakfast
Common Mistakes to Avoid
- Using ingredients straight from the package without toasting first, resulting in bland flavor and poor texture
- Skimping on the binding agents (honey/syrup and nut butter), causing bars to crumble rather than hold together
- Inadequate compression when forming the granola bar mixture in the pan, leading to bars that fall apart
- Cutting bars before they’ve completely cooled, resulting in messy edges and poor structural integrity
- Overloading with mix-ins beyond the recipe ratios, which prevents proper binding and cohesion
- Using very large pieces of nuts or dried fruit that create weak points where bars can break
- Storing at room temperature in humid environments, which can make bars soften and lose their texture
Storing Tips for the Recipe
Maximize the freshness and convenience of the granola bar with these expert storage strategies. The granola bar’s shelf life can be optimized through proper handling:
- Wrap individual bars in parchment paper or wax paper for grab-and-go convenience
- Store at room temperature in an airtight container for up to 1 week for optimal texture
- Refrigerate for extended freshness up to 2 weeks, especially in warmer climates
- Freeze for long-term storage up to 3 months by wrapping individually and placing in a freezer-safe container
- Use parchment paper between layers when storing multiple granola bars to prevent sticking
- Consider vacuum sealing for maximum freshness and portability for camping or travel
- Create a weekly meal prep routine by making a double batch every Sunday for breakfasts throughout the week
Conclusion
The granola bar represents the perfect intersection of nutrition, convenience, and flavor customization for modern breakfast needs. In just five simple steps and one hour of mostly passive time, you can create a week’s worth of nutrient-dense cold breakfast options. The granola bar outperforms commercial alternatives in both taste and nutritional profile when made at home.
Try making these granola bars this weekend and discover how the granola bar transforms your breakfast routine with minimal effort. Share your favorite flavor combinations and success stories in the comments section below, or leave a review after you’ve tried the recipe.
FAQs
- Can I make the granola bar without nuts?
- Absolutely! Replace nuts with additional oats, seeds like sunflower or pumpkin, and increase binding agents slightly (additional 1-2 tablespoons of nut-free butter) to maintain proper texture. The granola bar remains delicious even in nut-free variations.
- Why did my granola bars fall apart?
- Common causes include insufficient binding mixture, inadequate compression in the pan, or cutting before completely cool.
- Try increasing honey and nut butter slightly and press the mixture more firmly into your pan.
- How can I make these granola bars vegan?
- Simply substitute honey with maple syrup or agave nectar and use coconut oil instead of butter for a fully plant-based granola bar.
- Can I make these without baking?
- Though the recipe doesn’t require baking the final bars, toasting the oats and nuts is crucial for flavor development.
- If you prefer to skip the oven entirely, use pre-toasted nuts and toast oats in a dry skillet.
- How many calories are in these compared to commercial granola bars?
- Homemade versions average 220-250 calories compared to 180-300 for commercial bars.
- The nutritional quality of those calories is typically superior in homemade versions, with more fiber, protein, and healthy fats.
Your Feedback Matters
There are no reviews yet. Be the first one to write one.